Copyright 2002 by David Manthey. Click on images for a larger version.
|
Introduction |
|---|
 |
This is how I made a set of 9 chaining pins. Chaining pins
are also known as surveying arrows, surveying pins, and drop arrows.
Chaining pins are used when measuring a distance with a
survey chain. Two people are needed for the
measurement. The leader starts with nine chaining pins and one end of the
chain. He stretches the chain toward the destination, whilst the follower
holds the other end at the point of beginning. The leader places a pin at
the end of the chain, whereupon the leader and follower drag the chain
forward until the follower is at the pin. The follower picks up the pin
while the leader puts down another one. This continues until the destination
is reached, whereupon the distance is the number of pins that the follower
has, multiplied by 100 links, plus the measurement on the chain.
At this point, the leader and follower count the total number of pins that
they have. If it isn't 9, then a pin has been left somewhere, and they must
find the pin and remeasure the distance.
If a distance of more than 10 chains is measured, a staff is placed at the
end of the tenth chain. The follower gives the nine pins to the leader (who
makes sure that there are 9 of them). The 10 chain distance is noted in the
field book, and the measurement is continued.
I chose to make chaining pins with an inside eye diameter of 1 3/16
inches, mainly because this was the diameter of the wooden staves I was
making, and therefore a convenient size. The eye should be big enough to
easily grab with a few fingers. The total length of the pins was selected as
14 inches. This is a typical value for both modern and historic pins.
|
|
Materials |
|---|
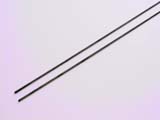 |
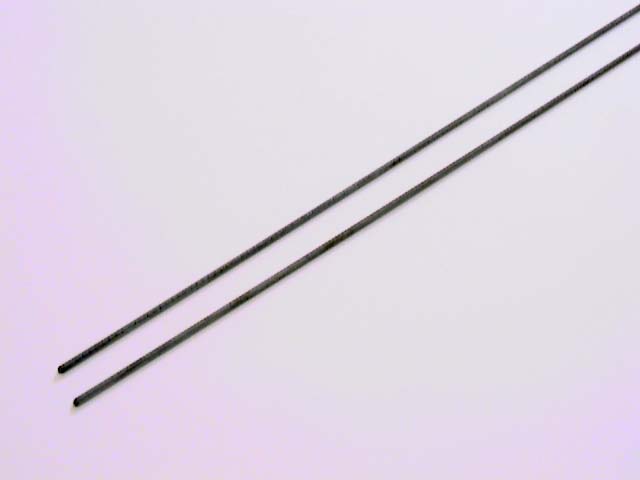
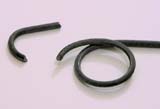
Wire - 0.15 inch diameter galvanized steel wire. I got this from
my grandfather's shop. Chaining pins range from 0.10 inches to 0.20
inches. It is better to start with straight wire than with coiled wire, as
the pins are mostly straight. |
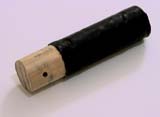 |
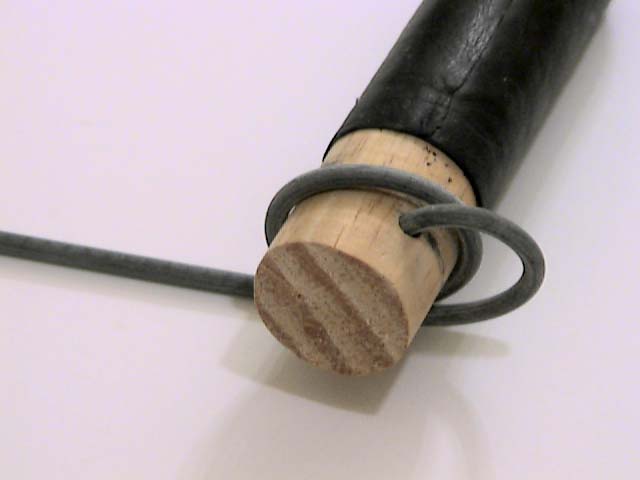
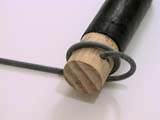
Eye Winder - This is a dowel the same diameter as the inner
diameter of the eye of the pin with a hole drilled through near one end. The
hole needs to be slightly larger than the diameter of the wire. I used a 1
3/16 inch dowl with a 11/64 inch hole. I also wrapped the dowel with leather
to make it more comfortable to hold; this is optional. |
| Paint - (not shown) - By themselves, the pins will
be hard to see against the ground. I painted mine with white enamel. Modern
pins are striped red and white with the stripes exactly 1" in width. |
 |
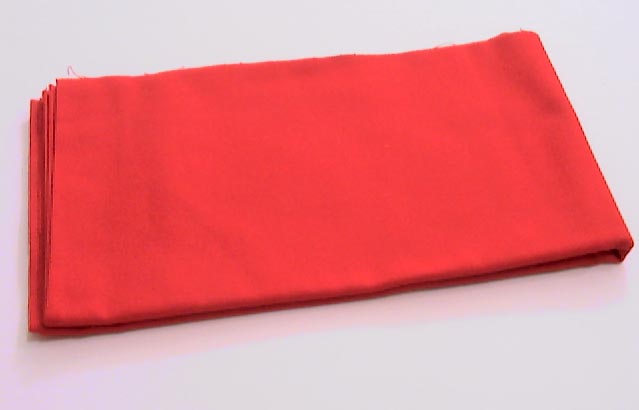
Cloth - A ribbon of cloth in a contrasting color should be tied to
the top of each pin. I used a red cotton duck I had leftover from another
project. |
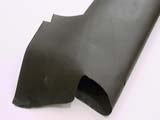 |
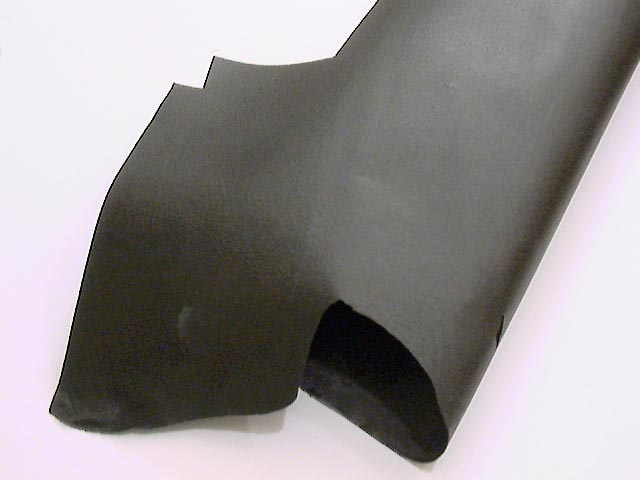
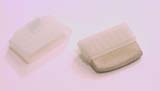
Leather - Used in the quivers. I used a 1.5 oz morocco-grained
pig leather that I purchased from
Tandy. Any leather that is strong
enough will do. This was a bit on the thin side, but appears durable. |
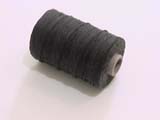 |
Thread - Used to sew the quivers. I used a waxed linen thread
that I purchased from a sutler during the F&I Grand Encampment at Fort
Ticonderoga. You can also get it from Tandy. |
|
Tools |
|---|
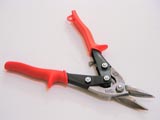 |
Wire Snips - These need to be able to cut the wire. Mine weren't
strong enough, so I filed a notch at the location of the cut with a file and
then cut the wire with the snips. |
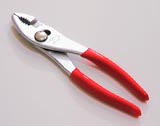 |
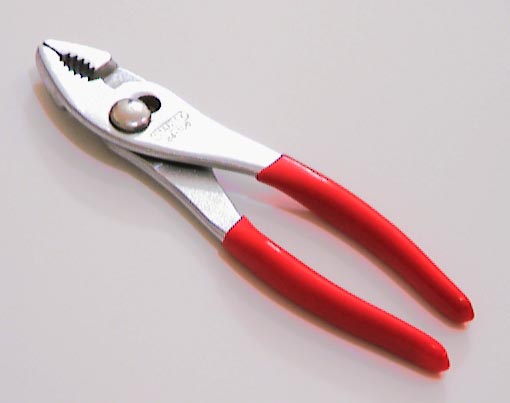
Pliers - These are used to help bend the neck of the pin and close
any gap in the pin eye. |
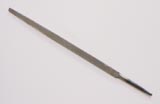 |
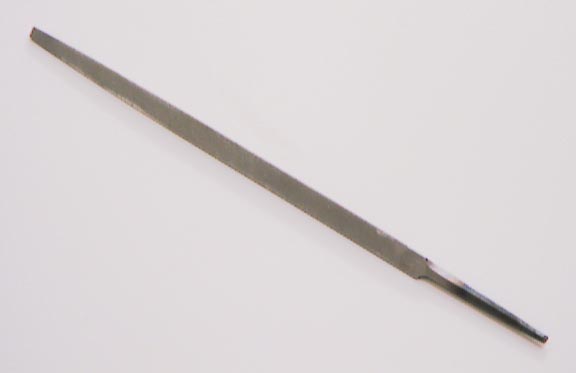
Metal File - I used this to help cut the wire. If I had better
snips, it wouldn't of been necessary. |
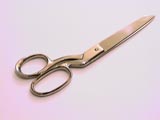 |
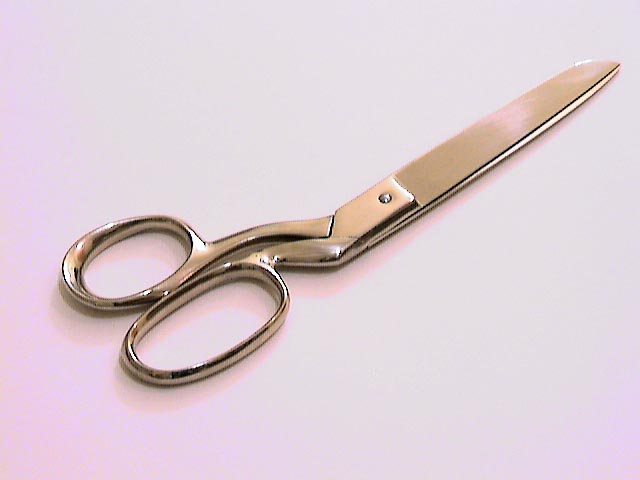
Scissors - Used for cutting the cloth and the leather. I used two
different pairs for these two tasks. |
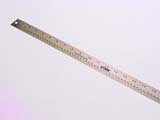 |
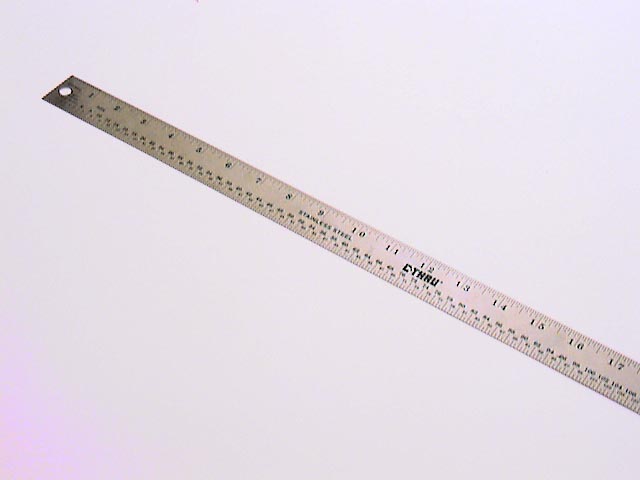
Ruler - Used for measuring the length of the pins and laying out
the quivers. |
 |
Marking chalk - Used to mark the leather before cutting. |
 |
Prick Wheel - Used for marking stitches on leather. This makes
six marks to the inch. |
 |
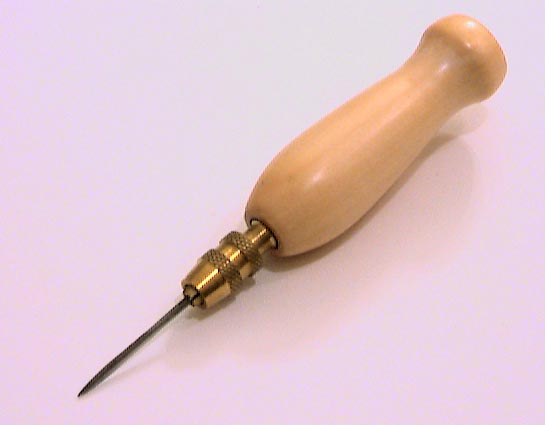
Awl - Used to pierce the leather to allow it to be sewn. |
 |
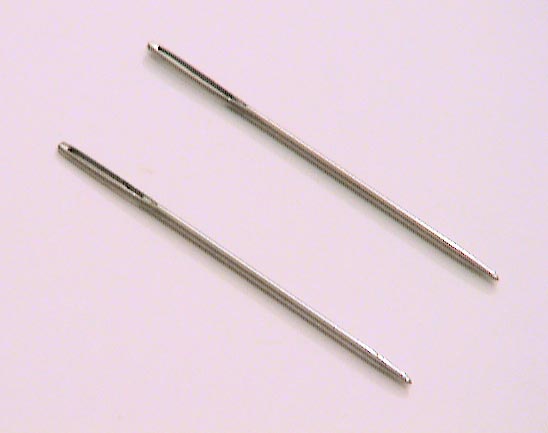
Needles - Used for sewing the leather. Two blunt needles are
needed to sew lock stitches. |
Drill and Bits - (not shown) - Used for making the hole
in the eye winder. |
| Safety Equipment - (not shown) - Eye protection is a
must. I found gloves necessary to protect my hands. |
|
Making Pins |
|---|
| A total of 9 pins are needed.
A winding jig is needed to form the eyes of the pins. See the materials
list for details. |
 |
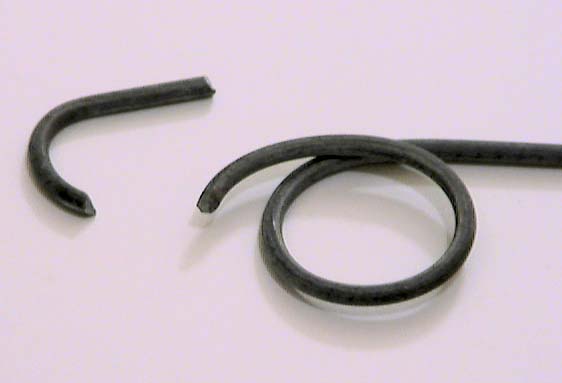
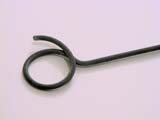
Step 1 - Start the wire - Put one end of the wire in the
hole in the winder. Bend the wire around the winder until at least one full
loop is tight against the winder. |
 |
Step 2 - Cut the wire from the winder - Cut the wire
near where it comes out of the winder. This will allow it to be removed from
the winder. The small piece of wire that was in the starting hole of the
winder is scrap. |
 |
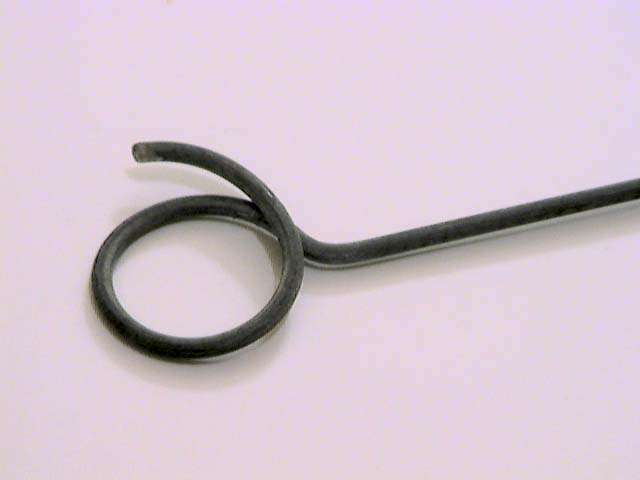
Step 3 - Form the neck - Grab the eye with the pliers
on the rounded section immediately adjacent to the straight section of the
wire. Bend the wire 90 degrees. |
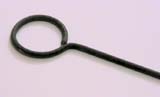 |
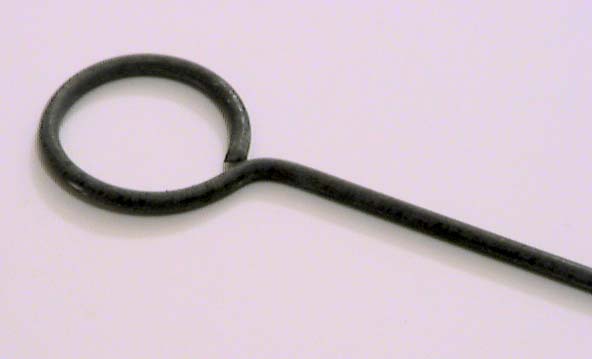
Step 4 - Cut the excess wire at the eye - Cut the wire
so that there is exactly one complete loop at the eye. If necessary, use the
pliers to close the remaining gap and bend the eye so that it is flat with
the shank of the pin. |
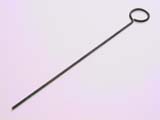 |
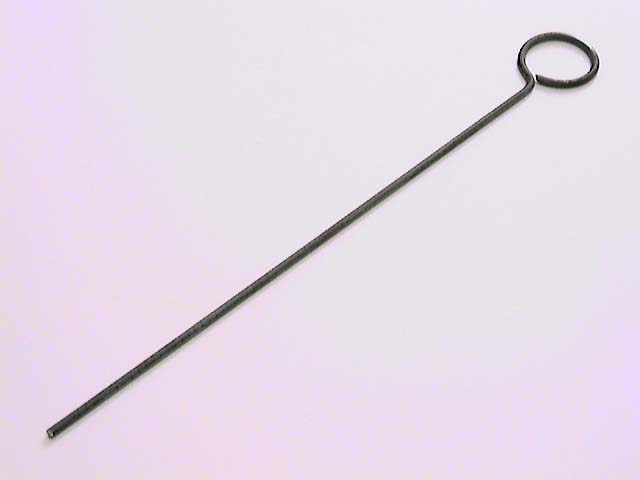
Step 5 - Cut to length - Cut the pin so that the length
from the top of the eye to the bottom of the shank is the desired dimension.
I made my pins 14 inches long. |
 |
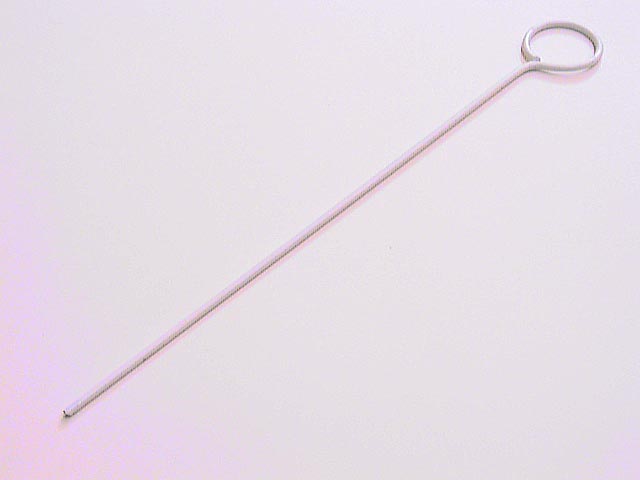
Step 6 - Paint the pin - Paint the pin either solid
white or white with red stripes. This makes the pin easier to find in the
grass. Historically, some pins were also painted solid red or left
unpainted. |
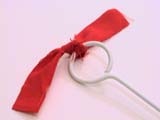 |
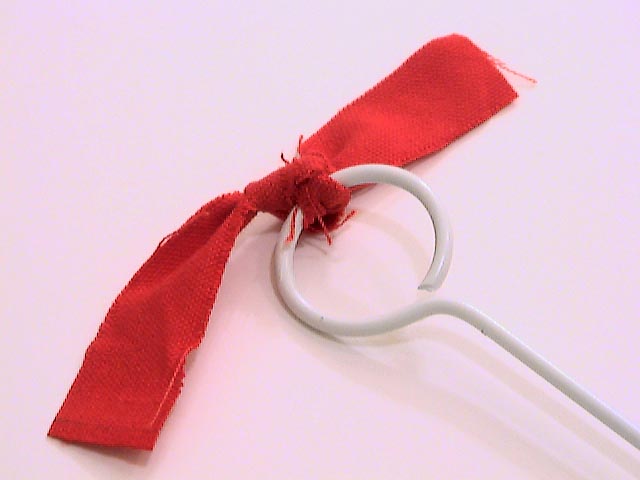
Step 7 - Add a ribbon - Tie a ribbon of a contrasting
color to the eye of the pin. I used a strip of red cloth 1 x 10 inches in
size. This also aids finding the pin. |
 |
Done - The pins are ready for use. |
|
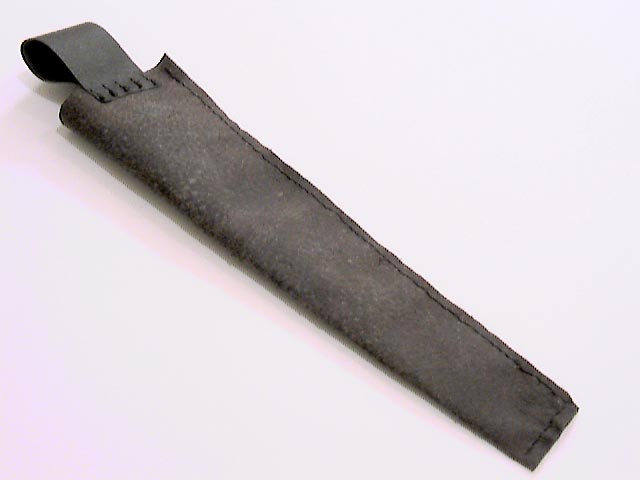
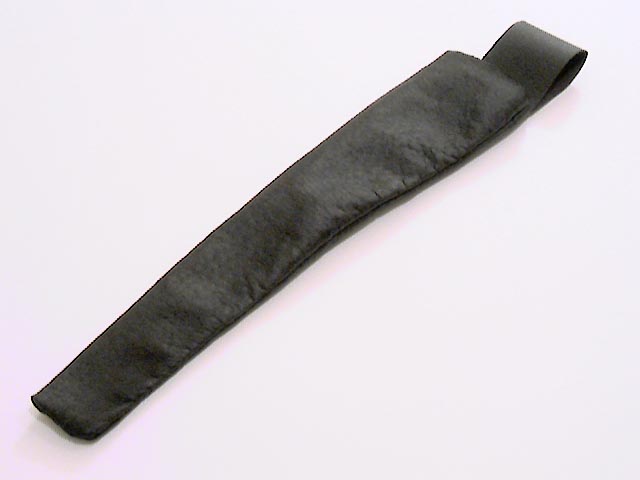
Making Quivers |
|---|
| Both the leader and follower need quivers to store the
chaining pins. Initially, the follower's quiver will be empty, but he will
fill it as a distance is measured and he picks up the pins left by the
leader.
Note that these quivers fit the chaining pins I made. Obviously, if you
have different size chaining pins, you'll need different size quivers. |
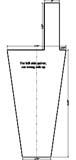 |
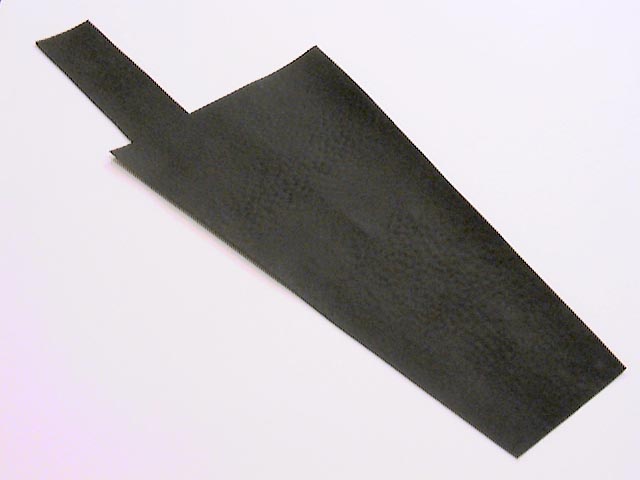
Step 1 - Mark the leather - Use a sturdy leather. I
made my quivers using the pattern shown here. This is also available in
PDF format. It looks better to have the seam in the
quiver toward the rear. For this reason, if you plan to wear the quiver on
the left, cut using this pattern on the wrong side (inside) of the leather.
If you prefer the quiver on the right, cut the pattern on the right side
(outside) of the leather. This is purely a cosmetic difference.
I marked the leather using tailor's chalk. |
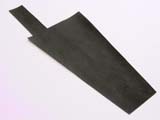 |
Step 2 - Cut the leather - Cut the leather to shape.
The top edge and edges of the belt loop need to be nice and straight, as
these show the most. I find that a pair of sharp utility scissors works
best for cutting leather; other people prefer knives. |
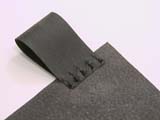 |
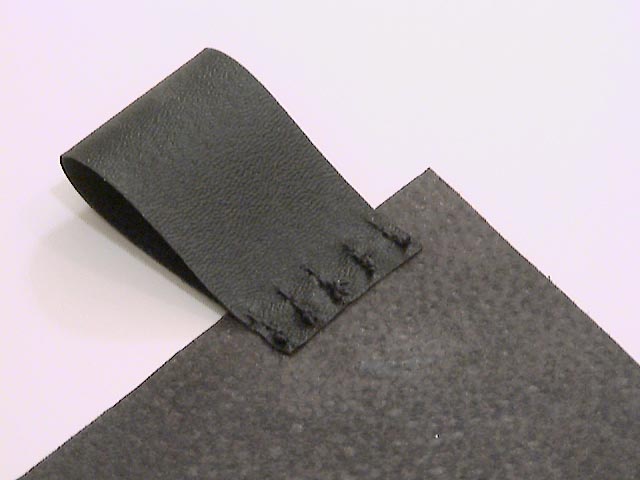
Step 3 - Sew the belt loop - Place the wrong sides
together on the belt loop, overlapping the end 3/4 inch into the body of the
quiver. Sew the portion that overlaps the body. This will leave a loop
that is 2.75 inches in height.
I sewed my quiver with waxed linen thread using a standard lock stitch.
I sewed five short seams all parallel to the length of the loop. Sewing
across the loop weakens the leather and may let the leather tear at the
seam. I pricked the leather using a prick wheel, punched holes using an
awl, then sewed the leather.
It should be noted that there are many more experienced leather workers
than myself; I recommend getting one of them to explain the proper techniques
for sewing leather. |
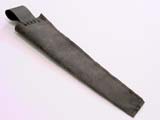 |
Step 4 - Sew the side and bottom - Place the right sides
together on the main quiver and sew up the bottom and sides using a 1/4 inch
seam allowance. I sewed this is a similar manner to the belt loop, excepting
that the seam runs along the length of the edge.
After sewing, the quiver will be inside out. |
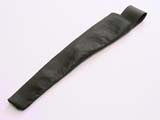 |
Done - Turn the quiver inside in. The quiver is ready
for use. |
|
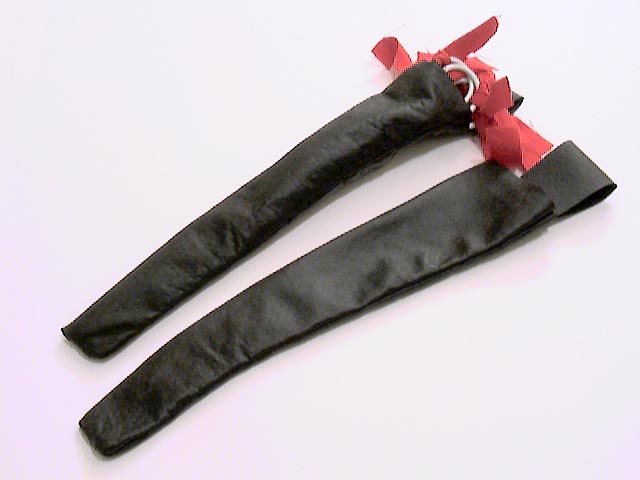
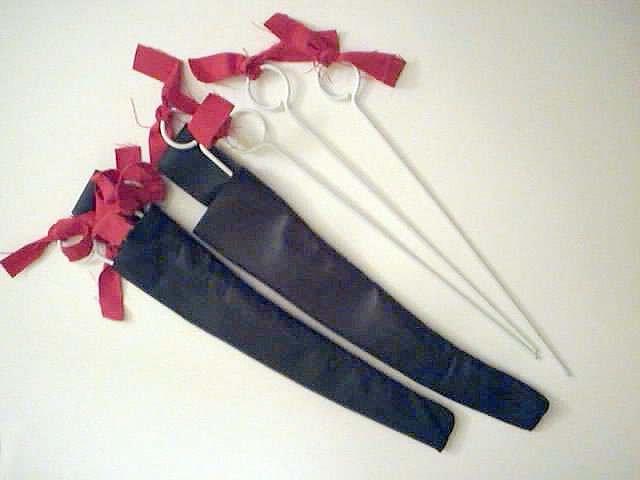
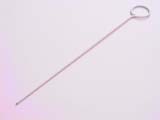
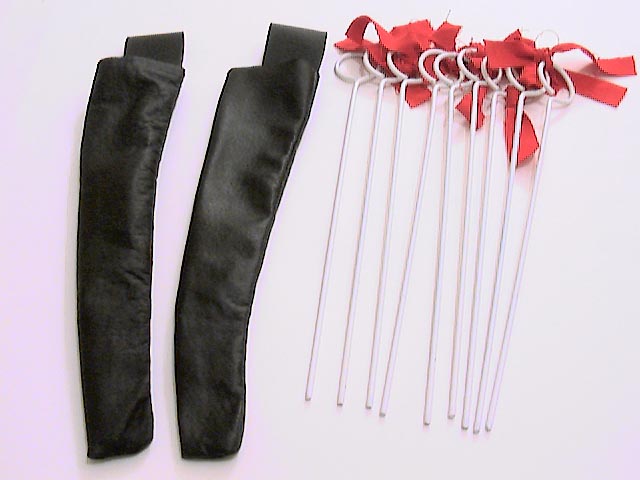
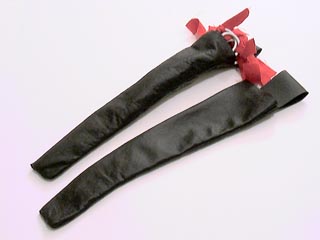
Completed Chaining Pins |
|---|
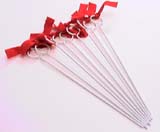
| Here are some photographs of the completed chaining pins. |
 |
 |
 |
|